


Electric skateboards are an exciting, eco-friendly way to travel, but like any device powered by a lithium battery, they can run into charging issues from time to time. If your electric skateboard suddenly won’t charge, don’t panic. Most problems can be diagnosed and resolved at home with a bit of careful troubleshooting.
This updated, comprehensive guide walks you through the most common causes, how to identify them, and what steps to take to get your board powered up again.
1. Check the Charging Cable
A damaged or faulty charging cable is one of the most frequent reasons an electric skateboard won’t charge.
What to do:
-
Inspect the entire cable for cuts, burns, cracks, frayed sections, or bent connectors.
-
Ensure both connectors fit snugly into the wall outlet and charging port.
-
Try wiggling the cable gently if the charge light flickers; you likely have a loose connection.
If you spot any damage, replace the cable with an official charger from your board’s brand. Using third-party cables can be unsafe and may damage your skateboard’s battery.
Also Read: DIY Electric Skateboard: How to Build an Electric Skateboard From Scratch?
2. Inspect the Battery
Over time, batteries experience wear and can fail to hold a charge.
Steps to inspect:
-
Look for physical damage, including swelling, cracks, or leaking.
-
Test battery voltage with a multimeter. A healthy lithium battery typically shows close to its rated voltage.
-
If capacity is under 80% of its original value, the battery may have reached end-of-life.
If your battery is swollen or underperforming, replace it immediately; riding on a damaged battery is unsafe.
3. Check the Charger
Your charger may be the real culprit, even if it looks fine externally.
How to test it:
-
Inspect it for burn marks, rattling sounds, or overheating.
-
Use a multimeter to check if the output voltage matches what’s printed on the charger.
-
If the voltage reading is lower than expected or nonexistent, the charger is faulty.
Try borrowing another charger (same voltage and brand) to confirm the issue.
4. Test the Power Outlet
Many riders overlook this simple step.
Try the following:
-
Plug another device into the same outlet to confirm functionality.
-
Inspect the outlet for burn marks or looseness.
-
Reset any tripped breakers or replace blown fuses.
-
Try charging from a different outlet in another room.
If your board charges elsewhere, the original outlet was the problem.
Read: Top 5 Mistakes New Electric Skateboarders Make and How to Avoid Them
5. Inspect the BMS (Battery Management System)
Your BMS protects the battery by monitoring temperature, voltage, and current. If it fails, charging can stop entirely.
Troubleshooting:
-
Check for error LEDs or flashing codes on your board or battery pack.
-
Measure voltage at the battery terminals if readings are inconsistent, the BMS may be misreading.
-
Bypass the BMS temporarily (ONLY if you know what you’re doing). If the board begins charging without the BMS, the BMS is faulty.
Replacing the BMS may require soldering and should be done carefully or by a technician.
6. Check the Fuse
A blown fuse will block the charging circuit.
How to check:
-
Locate the fuse near the battery or charging port.
-
Look for a broken filament or blackened glass.
-
Test with a multimeter (continuity = good fuse).
-
Replace with the same amp rating.
If a new fuse blows immediately, there may be a deeper wiring or short-circuit issue.
7. Inspect All Connectors
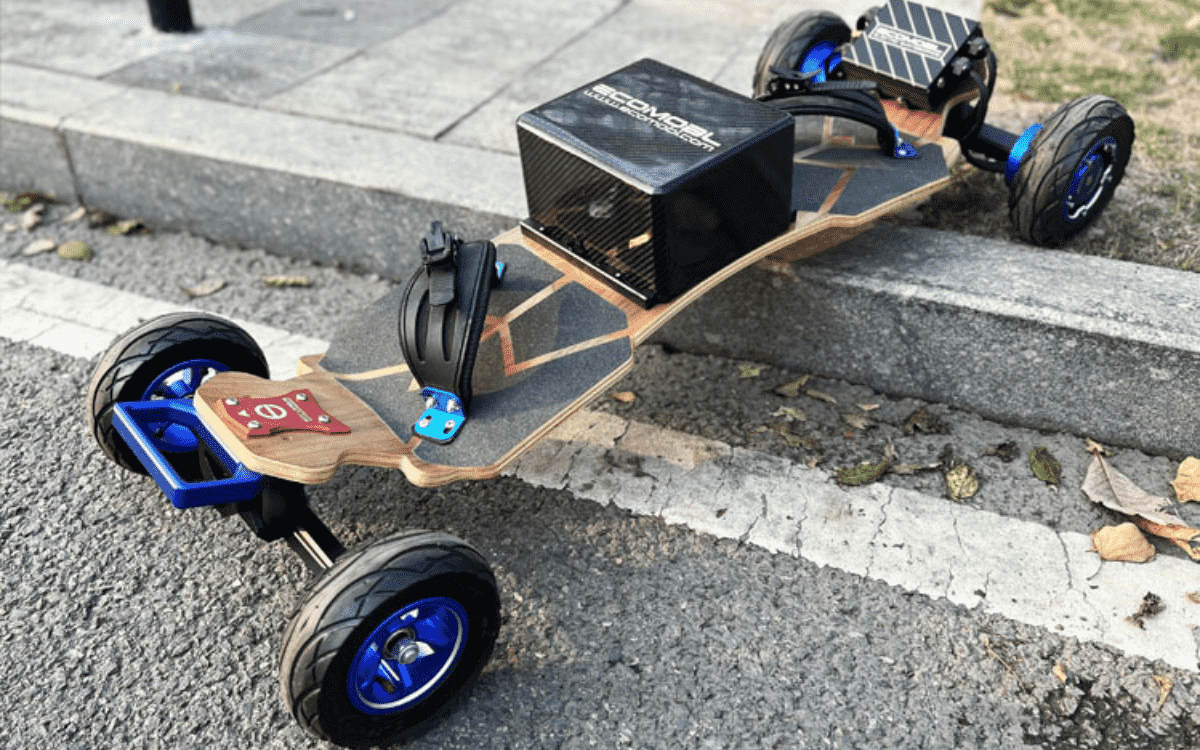
Loose or damaged connectors are common on electric skateboards, especially off-road boards like Ecomobl’s all-terrain models.
What to do:
-
Look for bent pins, corrosion, or cracked housings.
-
Push connectors firmly to ensure they are fully seated.
-
Use a multimeter to check for continuity.
If pins are bent, carefully straighten them, but replace severely damaged connectors.
8. Check the On/Off Switch
A faulty power switch can interrupt the charging circuit.
Troubleshooting:
-
Check for loose, stuck, or broken switch components.
-
Toggle it repeatedly to feel for proper engagement.
-
Test the switch with a multimeter for continuity.
-
Temporarily bypass the switch to see if charging resumes.
If bypassing works, replace the switch (an inexpensive and simple fix).
Conclusion
If your electric skateboard isn’t charging, the solution is usually one of the steps above:
-
Damaged charging cable
-
Worn-out battery
-
Faulty charger
-
Bad outlet
-
Failed BMS
-
Blown fuse
-
Loose connector
-
Faulty on/off switch
Work through each troubleshooting step methodically, starting with the simplest components. If none of the solutions restore charging, it’s time to contact your manufacturer or a certified repair technician for a professional diagnosis.
With patience and the proper method, you can solve most charging issues and get back to riding with confidence.


